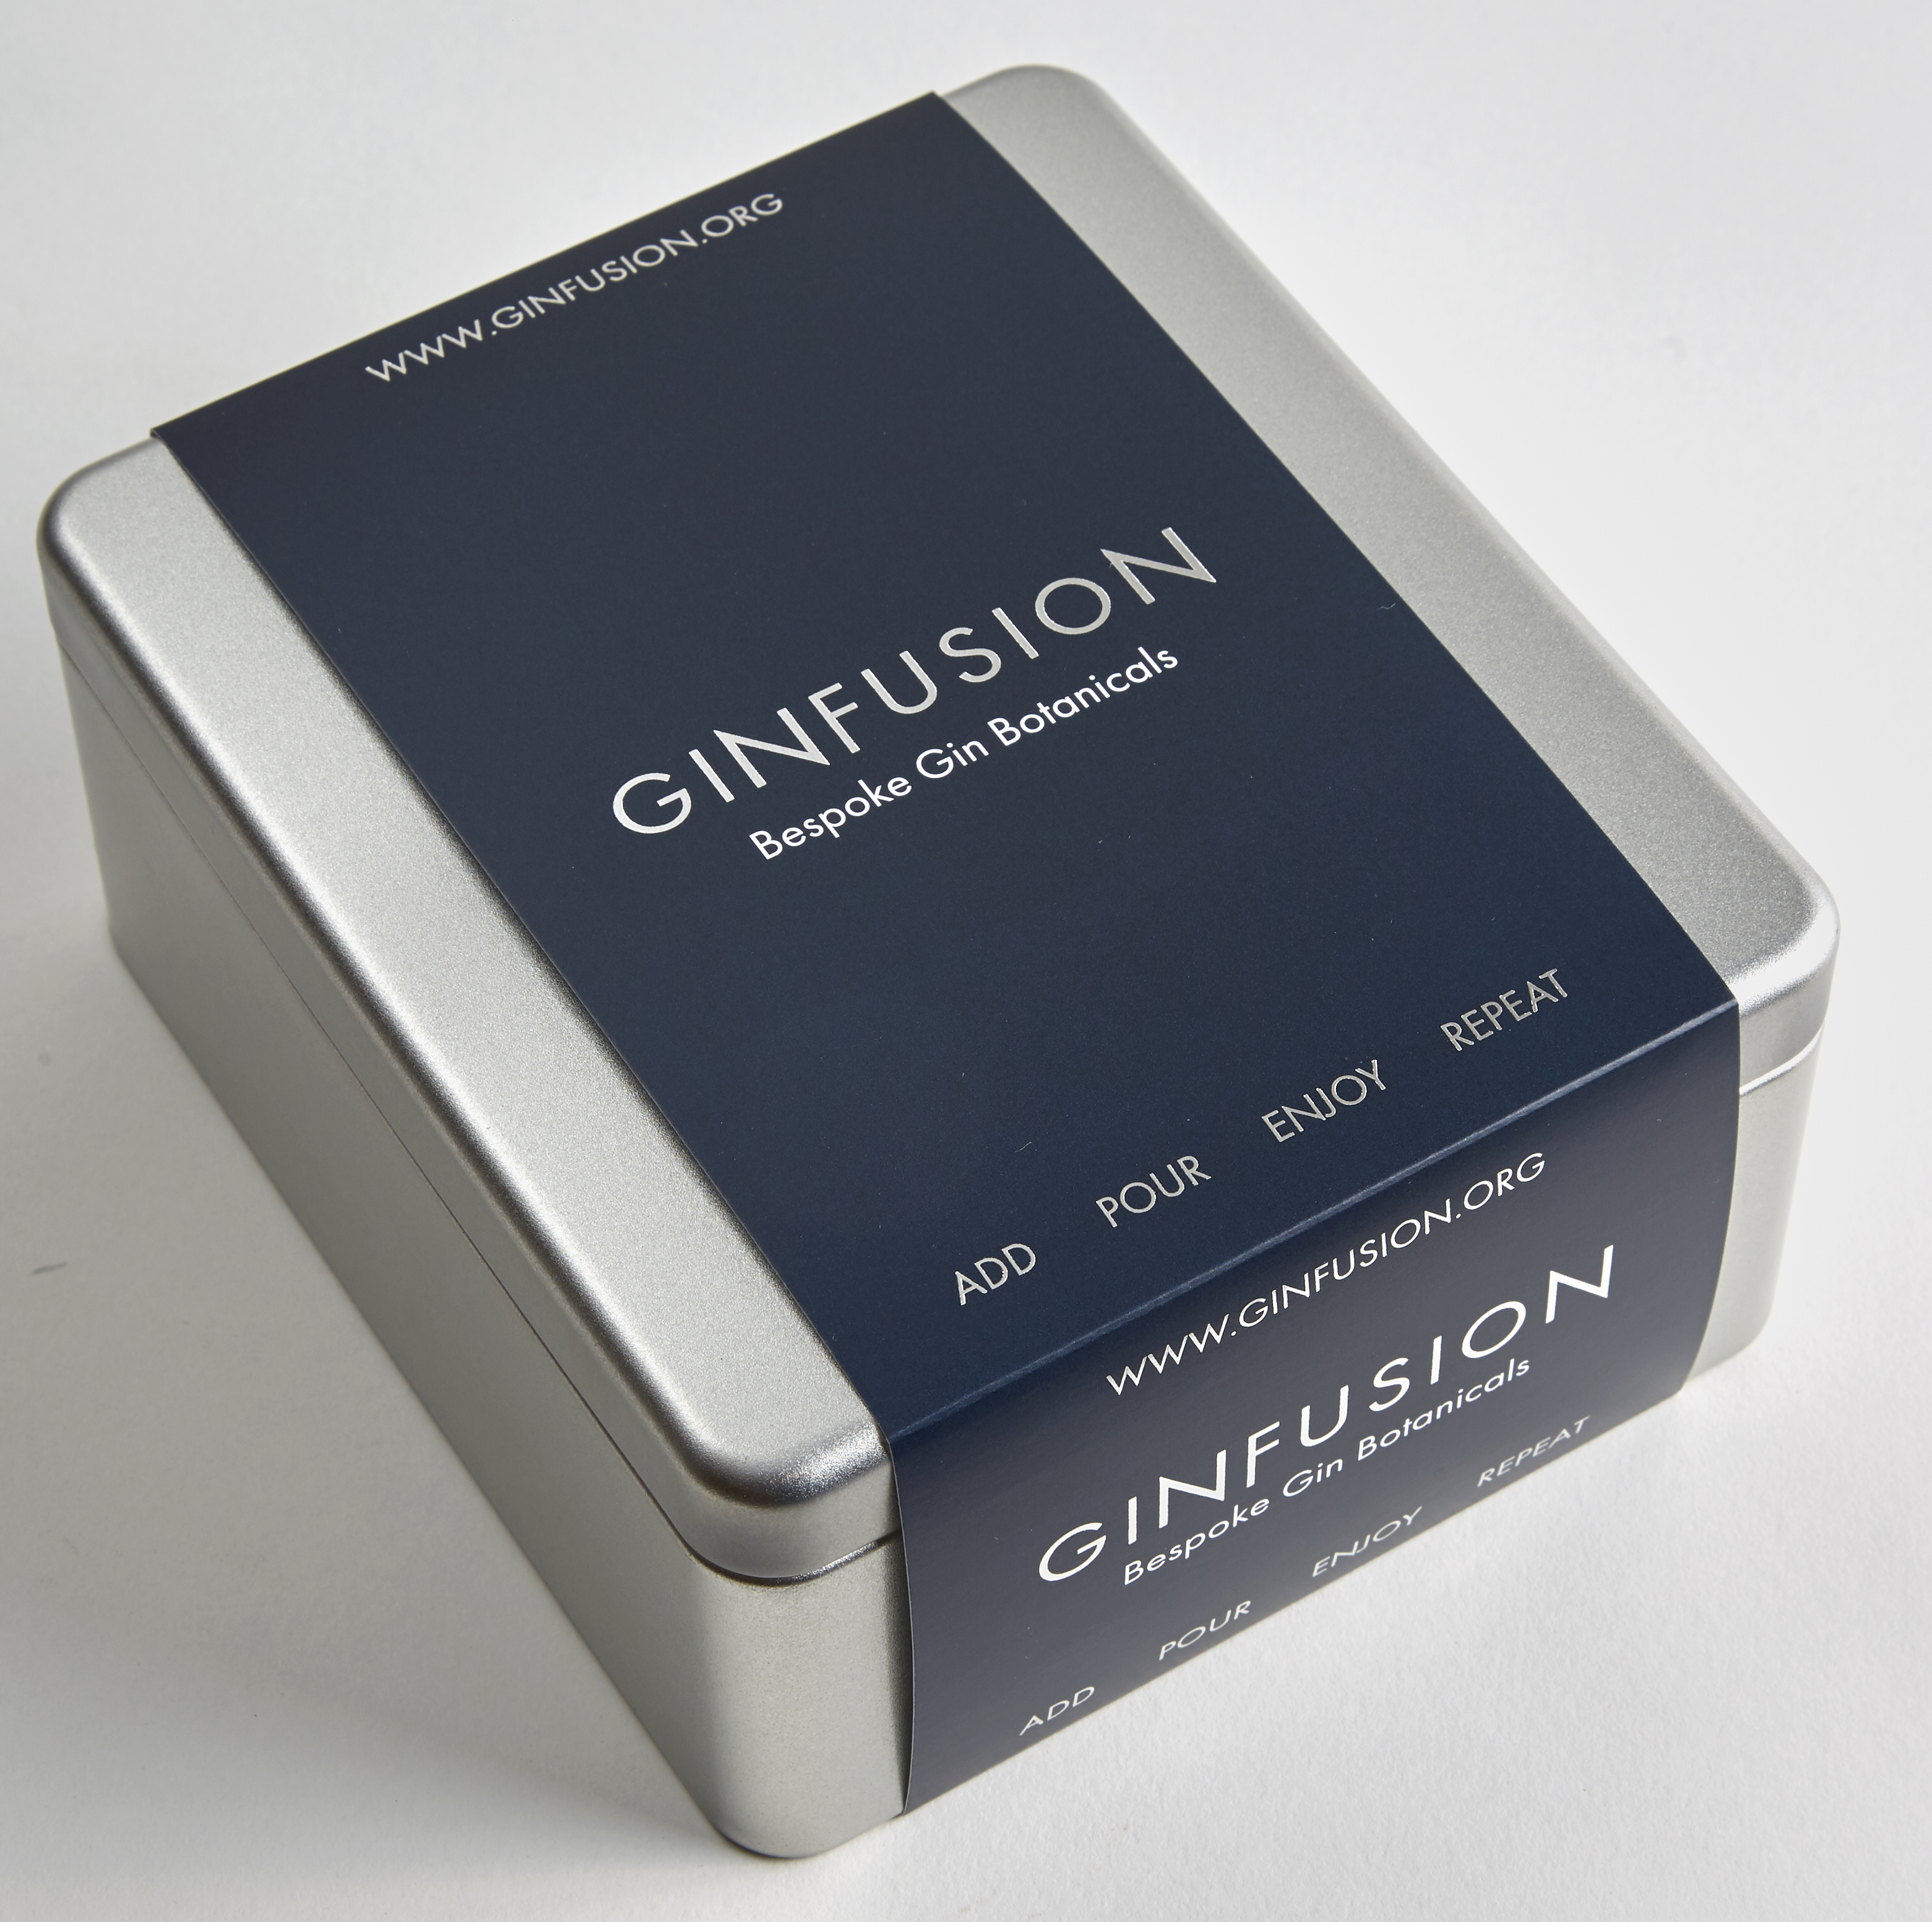
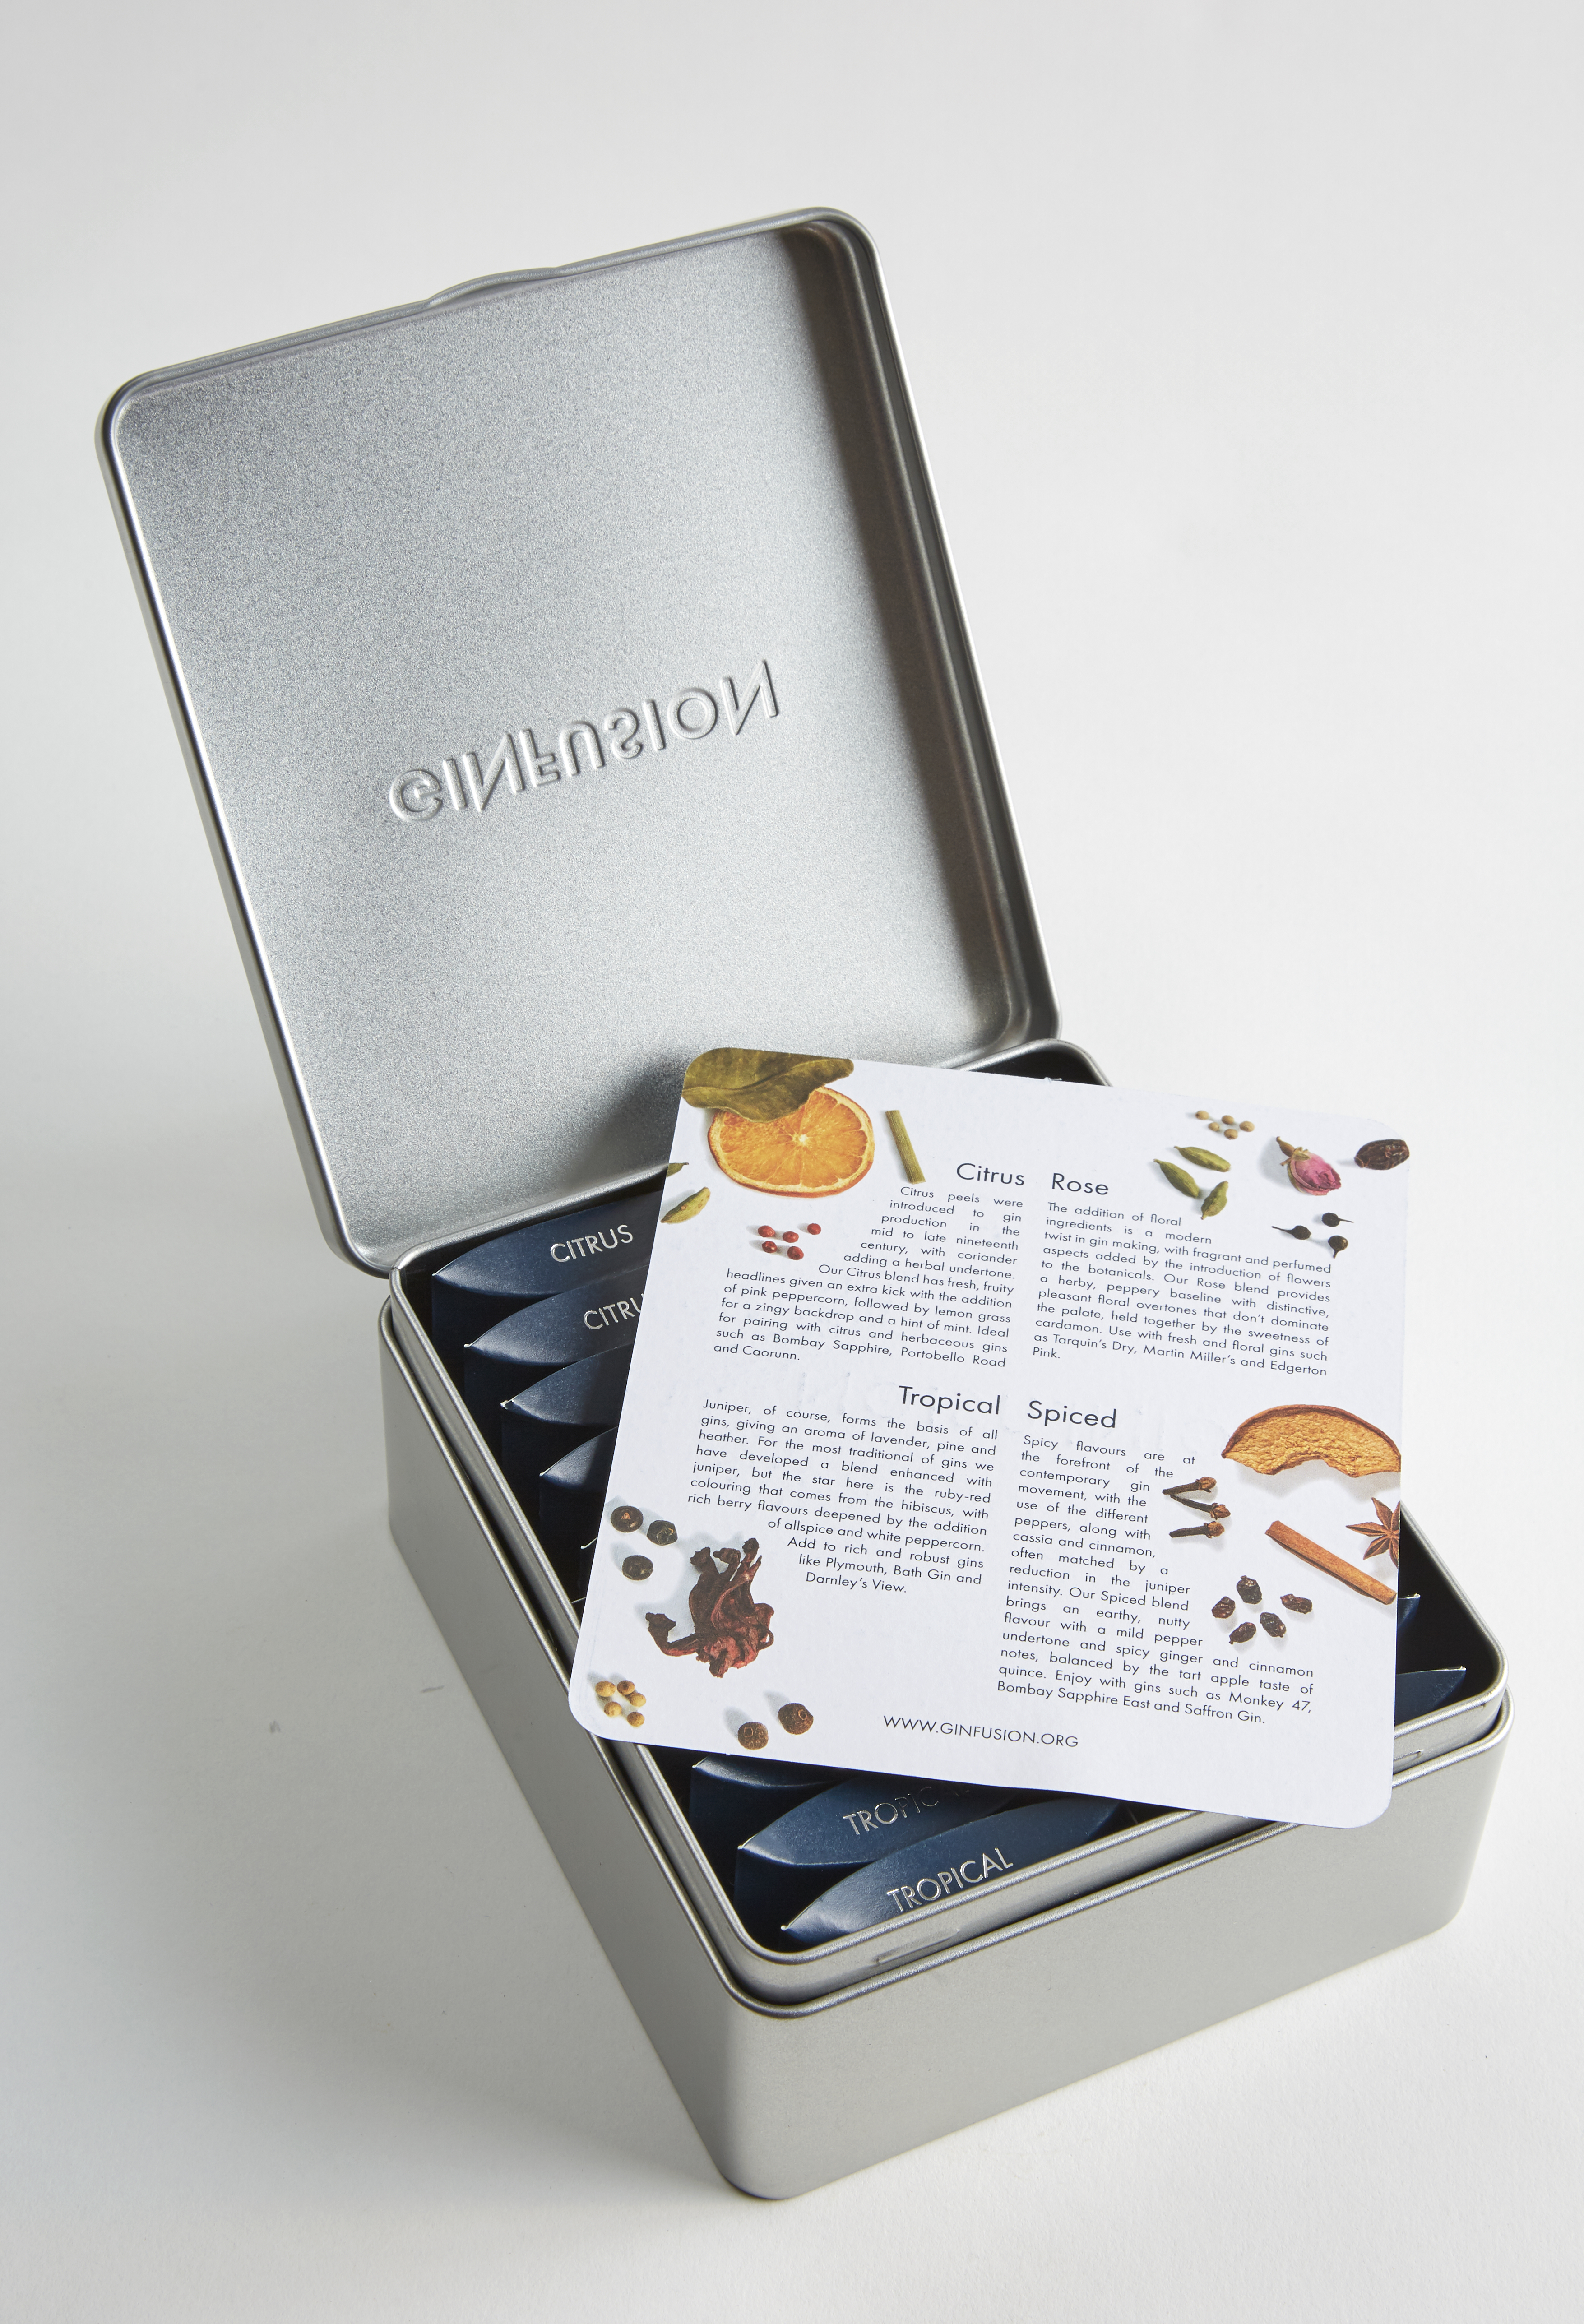
Today Laura and I visited one of our production facilities in order to get a better understanding of the design and print process used to complete our client orders.
As well as working within the marketing team at Proactive, I have recently started a small, one product company called Ginfusion. As part of setting up the new company I needed to get some bespoke packaging printed. Naturally I used the guys here at Proactive Marketing to help me with sourcing print and advice on the packaging design. This was a great opportunity for me to follow and experience the same process our customers go through, as well as learn more about my colleagues’ roles within the company.
Laura is a new member of the team so we decided to follow our customers’ journey together.
The design process…
I had a firm idea of what I wanted for our bespoke packaging design but needed help to decide what paper stock to use and, more importantly, what was within the production budget. I had a vague design and some knowledge of print processes and knew I wanted my brand design to include foiling of the company logo and that the packaging would be die cut.
An important element of our product design, included the use of food grade packaging. Josh consulted with me about what paper stocks could be used to best match or complement our product. We browsed foodgrade paper samples and discussed all the elements of the design such as Pantone colours, double sided printing, foiling and selecting an uncoated finish.
Having chosen the paper type, I approcahed the graphics department to help finalise my design and get it ready for print. We created separate pages for the four colour (CMYK) printing, Pantone colour and foiling elements of the design.
Here you can see the four print layers of our sleeve:
We printed templates in house, double checked the proofs for spelling and colour consistency and once we were 100% happy, we sent the files to production for plating and soft proofing.
The printer sent over PDF proofs, imposed in place ready for plate making – these were approved and plating began.
Laura and I travelled to our print production facility to do a press pass of the Ginfusion sleeve and inserts and to learn as much as possible about the whole print process.
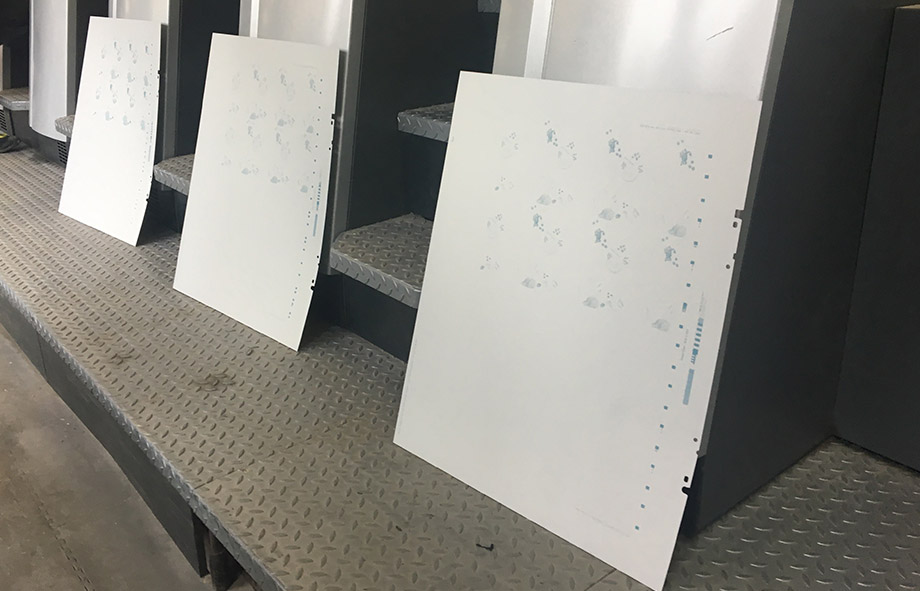
Each of the layers we mentioned are created on different printing plates. In the image below you can see the plates standing next to each part of the printing press, ready for inserting – these plates will transfer the design to the paper via the printing ink.
The print process…
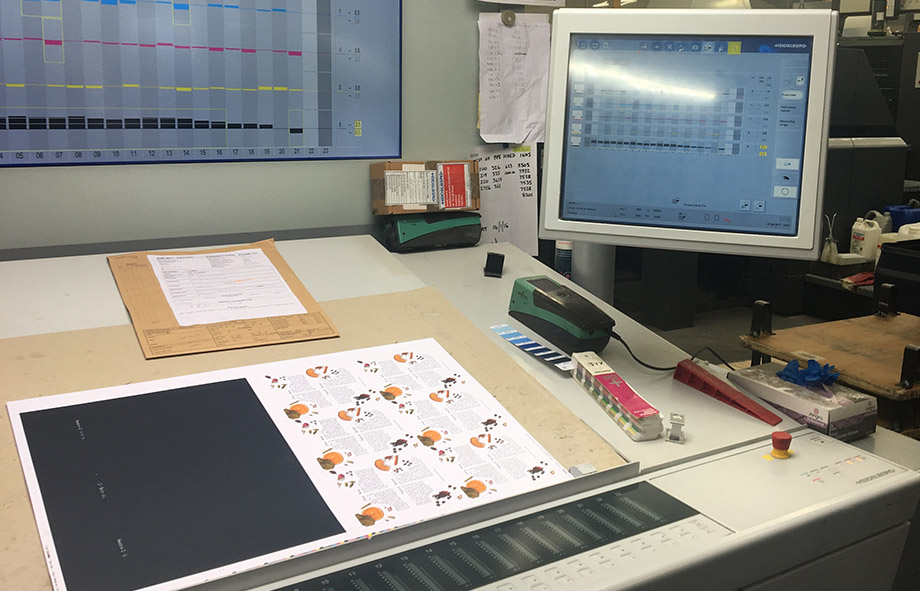
A series of tests are run before the product is printed to check the amount of ink being transfered to the paper – different levels of ink will create darker or lighter colours. Neil, the print operator used a light box and software to balance the amount of ink through each printer head – this varies based on the amount of colour vs the amount of white space used in the design. The amount of ink will also vary depending on the stock.
Once we were happy with the ink coverage and density, the full run was printed.
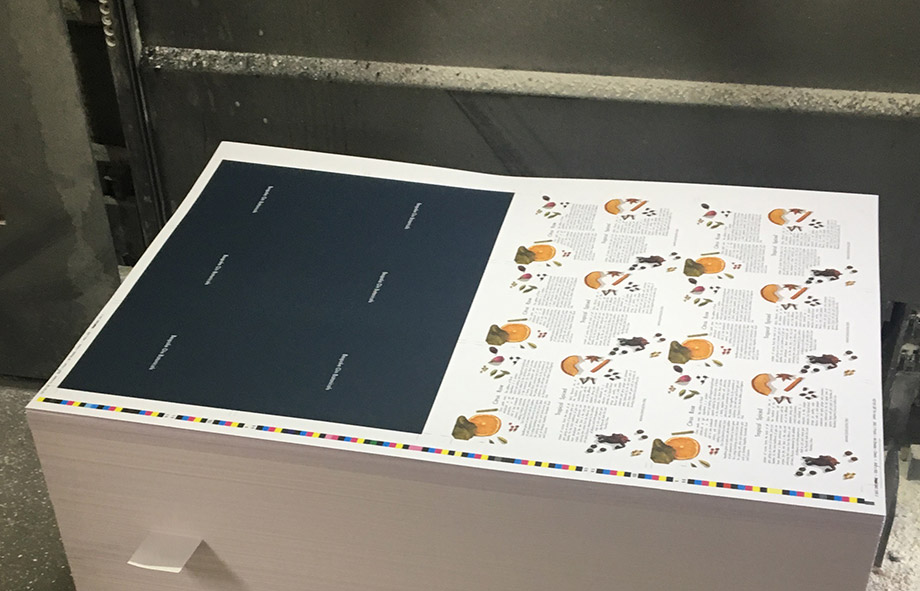
You can see the insert for our tin being printed. The back and front are printed on one sheet that is then turned over and printed again on the other side.
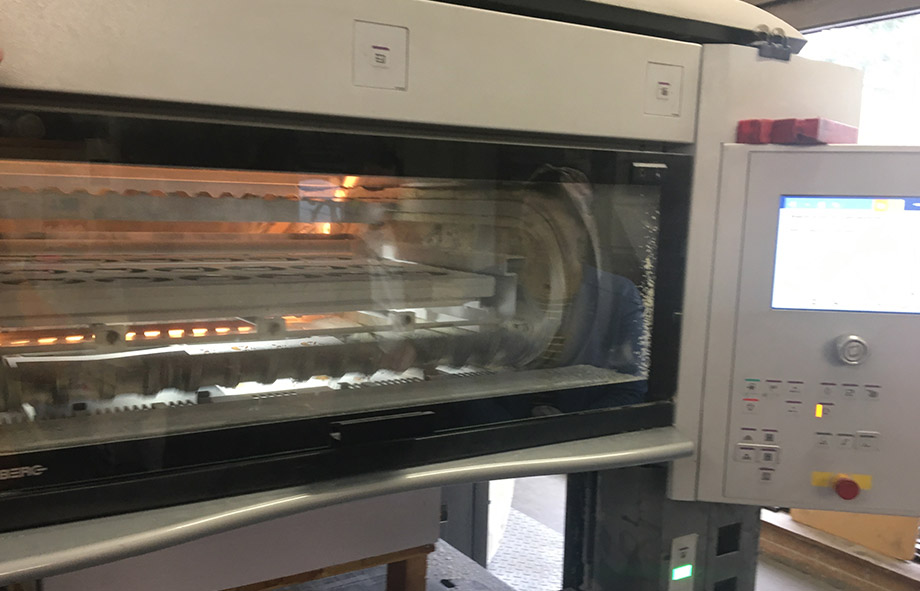
Once the sleeve and insert were printed the ink had to be left to dry.
Unfortunately this meant Laura and I were unable to see the packaging being foiled, die cut and folded. However here you can see the finished sleeve, insert and full product in all its glory.
Laura and I had a really good day understanding more about the processes our products go through before reaching the customer. I was delighted with the quality and finish of the Ginfusion sleeve and insert.
Of course I’m a little biased when I say the service was great and the team really helped deliver a luxury product, but it was great to have the opportunity to experience our customers’ journey first hand.
If you require a custom print project get in touch with us at Proactive Marketing. We deliver a first class service, gained from years of experience working in the design, print and marketing sector.


