It’s a Friday afternoon and one of our clients has placed an order for presentation folders. The email comes through with the artwork that they have created and… oh, it’s not in the right format for our production team and we have twenty minutes to fix it!
At Proactive, we want to make sure that working with us is as simple and stress free as it can possibly be, which means we don’t want to bother you with phone calls and emails when your artwork is supplied in a way that we can’t use. Simply follow the guidelines below for the best way to supply PRESENTATION FOLDERS
Send a packaged InDesign file or PDF with separate pages containing the following:
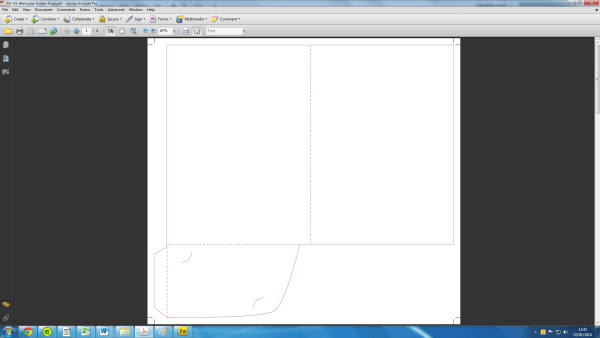
1. Page 1 should show the cutter guide only. We have a range of stock cutters with templates available from our website.
For something more unique, you can design or ask us to design a custom cutter. This will cost a bit extra but can be used in creative ways, for example a pocket with a cut-out around your logo or a pocket that holds a CD.

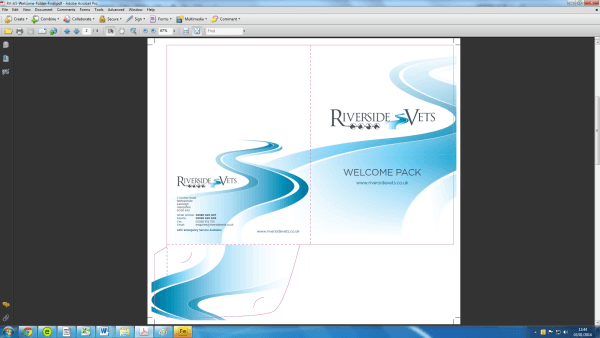
2. Page 2 should show the outside artwork with the cutter over the top. This is used in production for accuracy.

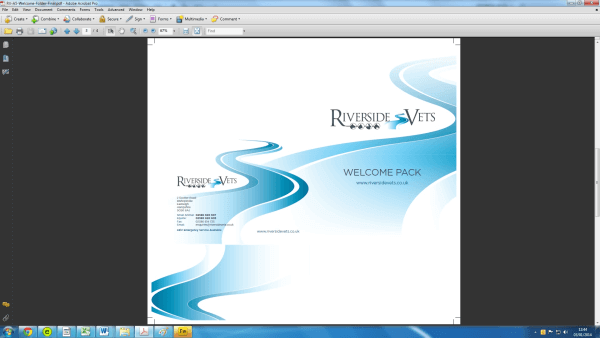
3. Page 3 should show the outside artwork with no cutter guide. This is what will actually be printed.

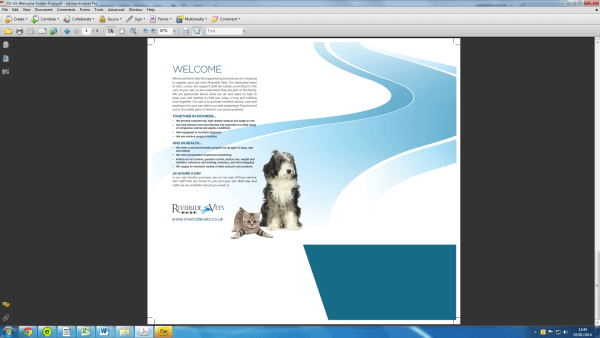
4. Page 4 (if required) should show the inside artwork with no cutter guide. If you’re having additional finishes such as spot UV or foiling, then page 5 should show this in 100% black.

All of the artwork should contain matching crop marks and 3mm bleed. If you are unsure about this, please give us a call and we will explain.
Follow the video http://vimeo.com/21441975 for a step by step tutorial on creating print-ready artwork using InDesign CS5.
